Reamping is a common term in home recording circles.
It’s a technique that many producers use to get better guitar sound, or experiment with sounds from effects pedals and amps.
In fact, reamping is one of the best ways to get creative with your home studio workflow. You might even have most of the gear on hand already.
But what is reamping exactly? How does it work and what equipment do you need to do it?
In this article I’ll explain everything you need to know about reamping to start experimenting.
What is reamping?
Reamping is the process of using a DI guitar signal to feed an amplifier or effects signal chain after the player’s performance has already taken place.
It’s typically done to change the fundamental tone of the guitar sound so it fits better in the mix.
Reamping originated with guitar recording, but the concept has expanded to include any situation where signals from your DAW interface with guitar equipment like amps or effects pedals.
It’s now popular to reamp vocals, synths or drums to take advantage of the unique and inexpensive processing available with guitar pedals.
How does reamping work?
It’s now popular to reamp vocals, synths or drums to take advantage of the unique and inexpensive processing available with guitar pedals.
Reamping works by converting the balanced line level signal from your audio interface’s output to an unbalanced instrument level signal suitable for guitar gear.
It’s done using a special piece of equipment called a reamper or a reamp box. The reamp box manages the electrical qualities of the signal to ensure it will sound right through an amp or stompbox.
To do it correctly you’ll need a reamper, some guitar gear and an audio interface with more than two outputs.
Here’s how to set up a reamp chain in 5 steps:
- Connect the reamp box to an unused output on your interface—you’ll need to keep at least one stereo pair available for monitors or headphones. Otherwise you won’t be able to hear what you’re working on!
- Connect the output of the reamp box to the input of the amplifier or effects pedal chain
- Route the track you intend to process to the interface output
- Use a microphone or DI box to capture the processed signal from the amp or effects unit.
- Record the processed signal on a new track in your DAW
Hot tip: Reamping naturally creates a looped signal path. If you’re not careful it can cause runaway feedback! Make sure not to engage input monitoring on the send and return tracks at the same time.
The 5 best reamp boxes for home studios
With the basics out of the way, you’ll need a reamp box to use this technique properly.
Here’s a list of some of the top picks available right now.
1. Radial X-Amp
The original Reamp technology was created by studio engineer John Cuniberti.
Radial acquired Cuniberti’s patent for the design and now makes official versions of the original.
The X-Amp is based on the original Reamp spec with the addition of a high quality buffered output for driving longer cable runs.
It’s a perfect solution for general studio reamping tasks.
2. ART Dual RDP
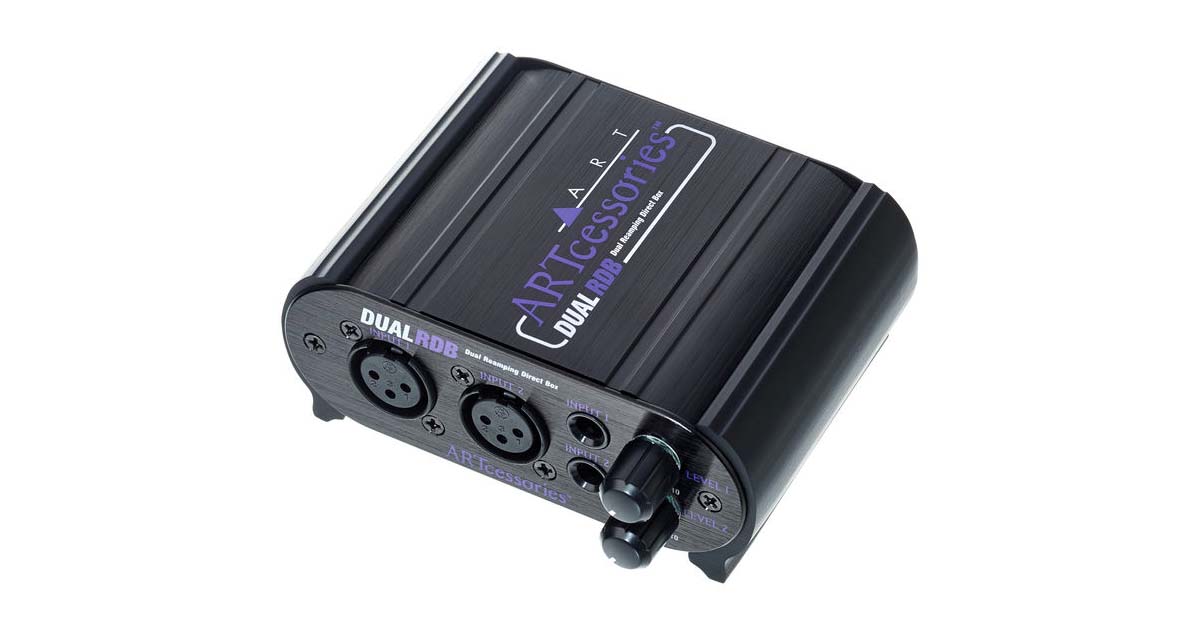
Studio quality reamp devices can be pretty expensive. That’s why it’s great that there are some budget-friendly options available like the ART Dual RDP.
This compact reamper gives you two independent reamp channels that can come in handy for stereo effects—all at a price that won’t break the bank.
3. Radial Pro RMP
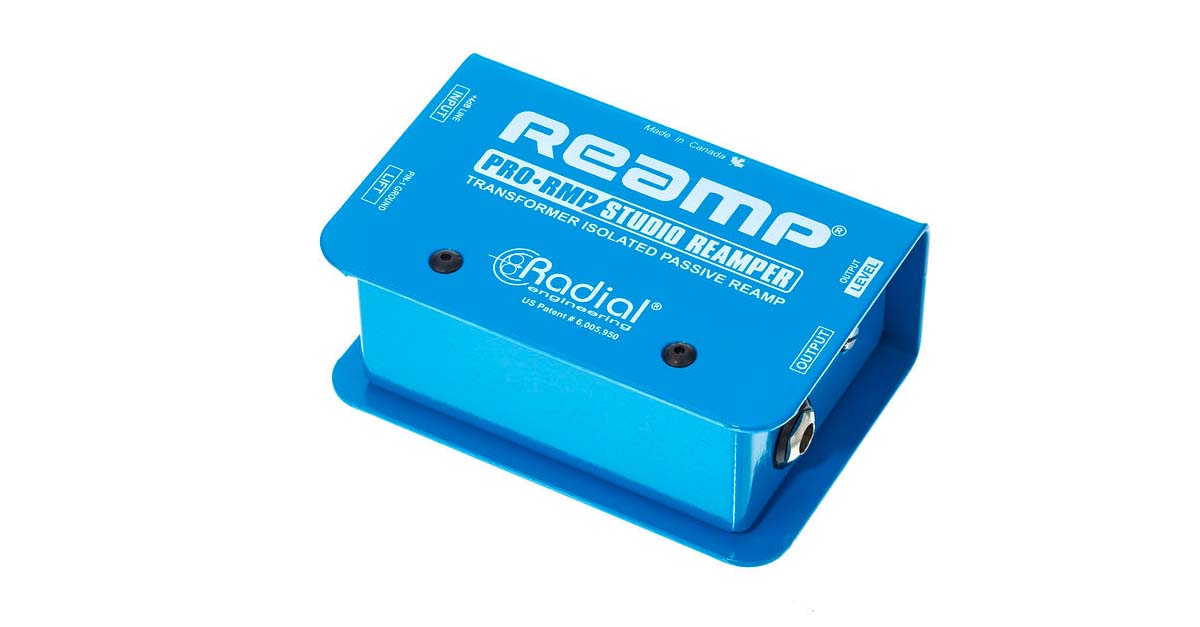
Radial offers its own range of affordable signal tools with the Pro line.
The Pro RMP is a passive reamp device that’s perfect for sending DAW signals to amps and effects.
4. Littlelabs Redeye 3D phantom
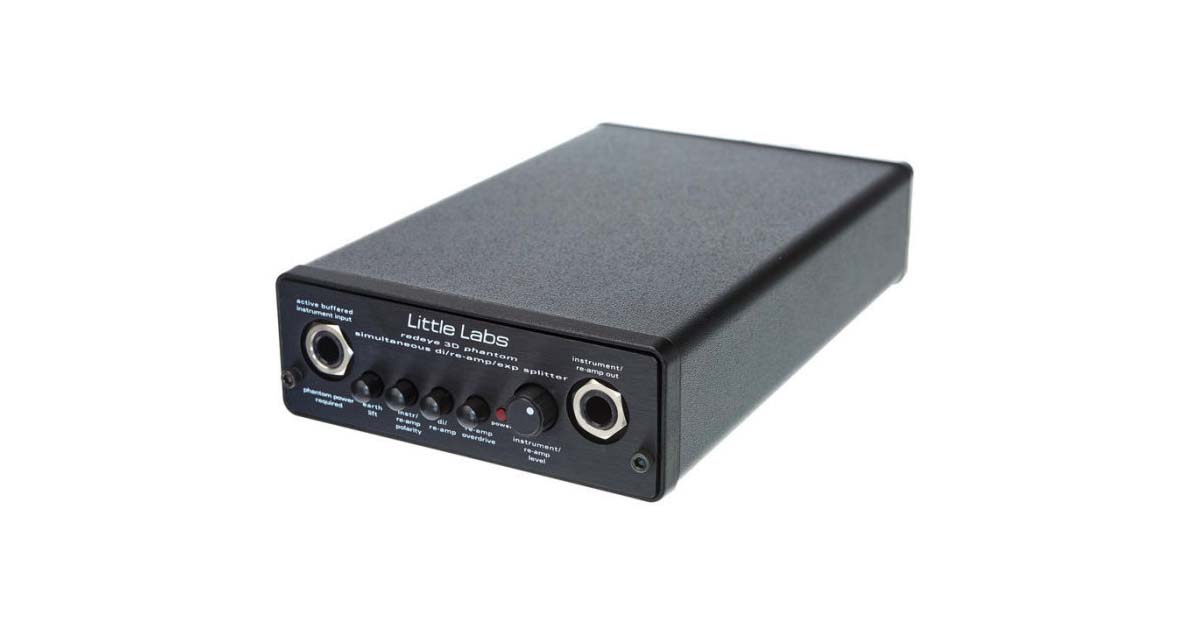
The Littlelabs Redeye 3D is a professional problem solver for instrument signals. It’s a combined DI and reamper that makes it easy to get perfect reamps every time.
If you’re looking for a top quality studio solution, the Redeye 3D should be on your list.
5. Radial JCR

The Radial JCR is the original John Cuniberti passive reamp design.
This pioneering device has become a staple in recording studios for a reason, so if you want to stick to the tried and true solution, this is the one to consider.
Reamping works by converting the balanced line level signal from your audio interface’s output to an unbalanced instrument level signal suitable for guitar gear.
Reamping ideas
Getting guitar tracks to sit right in a mix can be tough. It’s part of the reason the original reamping devices were created.
The sound of the amp itself is a huge factor for the overall tone of the guitar—and if it wasn’t right in the beginning, fixing it with EQ isn’t always an option.
Reamping lets you change the guitar sound later if you took the time to record a dry DI track.
For example, if the guitarist originally recorded their parts with too much distortion, the producer can simply reamp them later with a cleaner setting to bring back clarity.
That can be a lifesaver if you use a lot of guitar in your workflow. Even so, the real magic of reamping happens when you start to get creative.
Using a reamp, you can send any signal from your DAW to an amplifier or chain of effects.
That means everything from synths to drums or vocals can get mangled with stompboxes or blasted through an amp.
There are plenty of classic recordings that make use of the tinny, telephone effect of a vocal track through a small guitar amp. It’s a recognizable sound that can be fun to recreate in your home studio.
But stompbox effects can be just as fun. You can even skip the amp and just record their output straight back into your interface.
And if you go too far with radical effects and sound design, all you have to do is mix a bit of dry signal back in your DAW to create a musical blend.
Reamping—amp it again!
Reamping has become so popular that most producers consider it a foundational technique.
Experimenting with outboard effects is one of the funnest parts of being a producer, and there’s no easier way to do it than using this method.
Whether you’re looking to polish your guitar tracks or get creative with audio effects, this home studio technique should be in your toolkit.
If you’ve made it through this article you’ll have a great start for using reamping in your workflow.