Mixing is tough. Sometimes the perfect sound can seem one tweak away, but it’s not always easy to know which tweak to make. It’s those moments that can make you think “I wish I could just ask a pro.”
Luckily, LANDR’s senior audio engineer Al Isler loves to talk mixing. So we opened up our P.O. box to you, the LANDR community and asked you to send Al your most burning mix-related questions.
Here’s Al’s first batch of answers to some of the excellent questions we received.
Questions about your own mixes? Send them to askanengineer@landr.com for a chance to have your question answered the next time Al reaches into the mailbag.
1. How do I make vocals sound vintage?
—@kevinvillt Kevin Lopez from Maryland, USA
- Artist name: KEVIN!
- DAW: GarageBand
- Genre: Alternative
Interesting question. The first thing you’d need to do is define what exactly “vintage” means, as it could mean different things to different people. U47’s are vintage mics, but so are Coles 4038’s or Electrovoice 635a’s – which all have vastly different sounds from each other.
So I’m going to make some assumptions and work from the idea that “vintage” means a somewhat band-limited frequency response (more midrange focussed with not a lot of extreme bass or treble) and a bit of saturation and possibly even a bit of a “lo-fi” quality (yet another vague term).
When I hear the term “vintage” generally what I think of is a softened or attenuated high end and a thick, somewhat saturated lower midrange.
If you’re actually recording the vocals, as a loose guide, I would probably start with a more “fidelity compromised” microphone like a dynamic. Take your pick as to what model, but some basic ones would be: Shure SM58, Shure SM7b, Electrovoice 635a, Electrovoice RE20, Sennheiser MD421…the list can go on and on. Basically you’re looking for a mic that rolls off the highs and to some extent the lows.
But if the vocals are already recorded we can look at how to go about getting a “vintage” sound through processing.
When I hear the term “vintage” generally what I think of is a softened or attenuated high end and a thick, somewhat saturated lower midrange. Tape and tube emulation plugins can help with this.
Tape tends to roll off a bit of high-end, and playing around with the tape speed (if your plugin offers this functionality) will change where the inherent bass boost or “head bump” sits. I find 15ips and 7.5ips both give a nice low-mid effect, albeit in different ranges.
Slightly overdriving any plugin that emulates tubes or transformers (check out the Omega series from Kush Audio for some affordable and great sounding options) can add that thickness to the low-mids. But be careful not to overdo it. A little bit goes a long way.
As far as EQ, the only general recommendation I would make is to not have too much lows or extreme highs. A scooped or “smiley face” EQ curve isn’t what I would think of as vintage.
A scooped or “smiley face” EQ curve isn’t what I would think of as vintage.
Probably the best approach would be to take a few recordings you consider to be an ideal target for what you’re after and try and replicate the sound of them.
As for what type of EQ, try using EQ plugins that are modeled on vintage units (Pultec, Neve, API, etc) as they will have broader curves and a more appropriately characterful sound versus cleaner, more surgical options.
As for any ambience effects, like reverb or delay, try to use ones that are period-accurate.
They didn’t have digital effects in the 50’s and 60’s so if that’s the era you’re trying to recreate use plates and chambers (and possibly even springs) for your reverbs (Waves’ Abbey Road Plates and Abbey Road Chambers would be a good place to start) and tape echo for any delay effects.
But if the 80’s is more the era you associate with vintage you could use Lexicon-style reverbs (Valhalla Vintage Verb is a great affordable option, or if you want an exacting replication you could check out the Relab LX480 at the higher end) and some type of early digital delay. Primal Tap from Soundtoys is my personal favorite.
2. What’s the functional difference between linear and non linear phase EQ?
—@sunrisenowhere Jurrell Wood from Derby, England
- Artist name: Sunrise Nowhere
- DAW: Logic X
- Genre: Experimental Neo-Soul
Cool question! I’m going to assume that since you asked about the “functional differences” you’re more interested in hearing what those differences sound like or how they impact when and why you would pick one type of EQ over the other.
So instead of waxing technical about “pre-ringing” and “phase distortion” I’ll give you my take on what I actually think about each EQ type.
I find that when maintaining the integrity of the transients or the stereo image is of paramount importance I need to use a Linear Phase EQ. In that regard, it does what it’s supposed to do, which is not cause any smearing of the transients or image due to phase distortion. But as far as the actual sound of the EQ, I personally find Linear Phase to sound somewhat detached and almost “superimposed.”
When maintaining the integrity of the transients or the stereo image is of paramount importance I need to use a Linear Phase EQ
Minimum Phase or Analog EQ, however, ultimately sounds more integrated, like it’s more naturally part of the track, despite smearing things a bit (although different minimum Phase EQs will have different amounts of phase distortion, so keep in mind they’re not all created equal in this regard).
An analogy I would use is that Linear Phase is like projecting an image on a screen, whereas Minimum Phase or Analog EQ is like carving an image out of stone. Ultimately it’s a more invasive process, but it creates a more “believable” or “dimensional” sound, in my opinion. Plus sometimes the smearing and additional width created by the phase distortion can be an aesthetically pleasing effect, so it’s not necessarily a bad thing.
All this is how I’ve come to feel about these two different EQ implementations over time and I’m pretty sure not everybody shares the same opinion. Hopefully it’s given you some tips on what to listen for though, so you can come to your own conclusions.
3. How do you effectively control the 808 so it doesn’t muddy up the mix, but still provide enough punch and bass to make the mix feel full?
—@mixedbyauden Dario Gomez from Newark, New Jersey, USA
- Artist name: Auden
- DAW: Logic Pro X
- Genre: Hip Hop
There’s a few things you can do…
For bass elements to be audible in a mix they usually need two things. The first is space. My first recommendation would be to make sure your track doesn’t have so much going on that the 808 has to struggle to get through.
Pan other elements off to the side, high-pass filter any element that doesn’t need to have low frequencies (there’s no set value for what frequency you need to set the filter to, just play it by ear), and try not to have too much going on the arrangement to begin with.
The second tip is that in order to be audible on most playback systems bass instruments need some sort of high frequency component. 808s tend to be pretty close to a sine wave, which doesn’t have much harmonic content.
Add to that the fact that they usually play in a frequency range that very few playback systems can accurately reproduce. That means you have to use some psychoacoustic trickery to get them to be more clearly audible.
Using some light saturation can help bring out some of the upper harmonics, which will help make the 808 more audible.
Using some light saturation can help bring out some of the upper harmonics, which will help make the 808 more audible.
A tube-style saturation plugin will do a good job here. I’ve had good results using the Klanghelm MJUC (a very affordable and great sounding vari-mu compressor emulation) set to not actually compress but just use the “Drive” control as a saturation effect.
This will add a bit of brightness and texture that sounds like it’s naturally part of the track in a way that boosting with an EQ won’t, and it’ll let your ear pick up the 808 more easily.
The last tip is to make sure you use a kick sound that’s complementary to the 808. A kick sample that’s tight, punchy, has some low end weight but not too much sustain will work better than one that’s resonant and sustainy with a soft attack.
Also pay attention to the phase relationship of the two samples. If you zoom in on the waveform at the beginning of the sound they should both be going up at the same time and down at the same time.
If they’re not then the sound can get thin when you combine them due to phase cancellation. You can fix this by sliding one of the samples slightly on the timeline to make sure the peaks and troughs of both waveforms line up.
If you find that the attack of the kick sample clashes with the attack of the 808 you can edit out or automate down the attack of the 808, which can clean things up nicely. Hope that helps!

4. I have heard that rolling off frequencies under 30 hz can give you a cleaner and louder mix. If that is true, is it better to do this during mixing or during mastering?
—@sloppyjonesmusic Rich Williamson from Augusta, Georgia, USA
- Artist name: Sloppy Jones
- DAW: Logic 9
- Genre: DJ/Remixer
You heard correctly 🙂
Generally, it’s good practice to filter out any low frequencies from individual tracks that don’t need them. There’s no set cutoff frequency I would use though, just play it by ear.
Instruments that occupy the upper range, like tambourine, hi-hat, lead instruments like guitar and synth, and even backing vocals, can sometimes have frequencies rolled off up to 500Hz and beyond, while on other elements like rhythm guitars, synth pads or lead vocals, etc. I’d be much more conservative.
I would suggest adjusting the cutoff frequency while listening to the track in context rather than in solo, though. That’ll give you a better idea of how much or how little low end you need. And keep adjusting throughout the mixing process. You don’t want to end up overly thinning out the track.
Low frequencies eat up a lot of headroom and when there’s a lot of low frequency energy in a track it makes it very difficult to bring it up to a commercial loudness cleanly and without distortion.
Doing this type of “housecleaning” will have two effects: first it will clear out space so that the elements that actually need low end (kick, 808, bass, subby synths, etc.) will have a lot more room to speak clearly. This will help a lot to set them properly into the mix.
The second benefit is, as you mentioned, increasing the loudness potential of your mix. Low frequencies eat up a lot of headroom and when there’s a lot of low frequency energy in a track it makes it very difficult to bring it up to a commercial loudness cleanly and without distortion.
So making sure that any low end elements actually need to be there, and not just a bunch of low frequency junk accumulated from all the tracks, will help.
As for the question about when and where to do it – definitely do it in the mix. It’s always better to fix problems in the mix rather than leave it up to the mastering engineer.
In the mix you can decide which instruments need bass and which don’t, and fine-tune the frequencies to optimize the balances between everything. If you leave it for the mastering stage, the engineer’s hands will be tied. They’ll only be able to cut all the instruments at a given frequency, which usually isn’t what you want.
It doesn’t mean they won’t do some filtering anyway, but they won’t be forced to compromise the sound of one element in order to fix the sound of another.
5. Does low intensity bring up the lowest volume parts of your mix to the minimal volume it needs to be for streaming? Or does it just depend on how much headroom you left when you mixed it. Like if I left 10db of headroom, would it bring it up where it needed to be anyway, than if I left 6db for instance
—@mickgrocholl Mick Grocholl from Orlando, Florida, USA
- Artist name: Stormfolk
- DAW: Logic 9
- Genre: Alternative/Folk
There’s a couple of questions in here, so I’ll split them up and answer them in turn.
First, let’s tackle headroom. The general recommendation floating around online, and reiterated by LANDR, is that you should leave around 6dB of headroom.
There’s nothing magical about this number, though, and it’s not an exact standardized value that you have to rigidly adhere to. It’s just a best practice recommendation that comes out of the concept of proper gain staging throughout your mix.
If you’ve maintained healthy but reasonable levels throughout the mixing stage you should have peak levels reaching somewhere in the -10 to -6dBFS range.
Any higher and you may need to revisit your levels. You really only need to be concerned if your master bus is clipping though. Any empty headroom is easily dealt with if necessary in mastering by normalizing the file, which is just clean, transparent gain.
To answer the second point about low intensity I’ll quickly explain the difference between peak and RMS normalization.
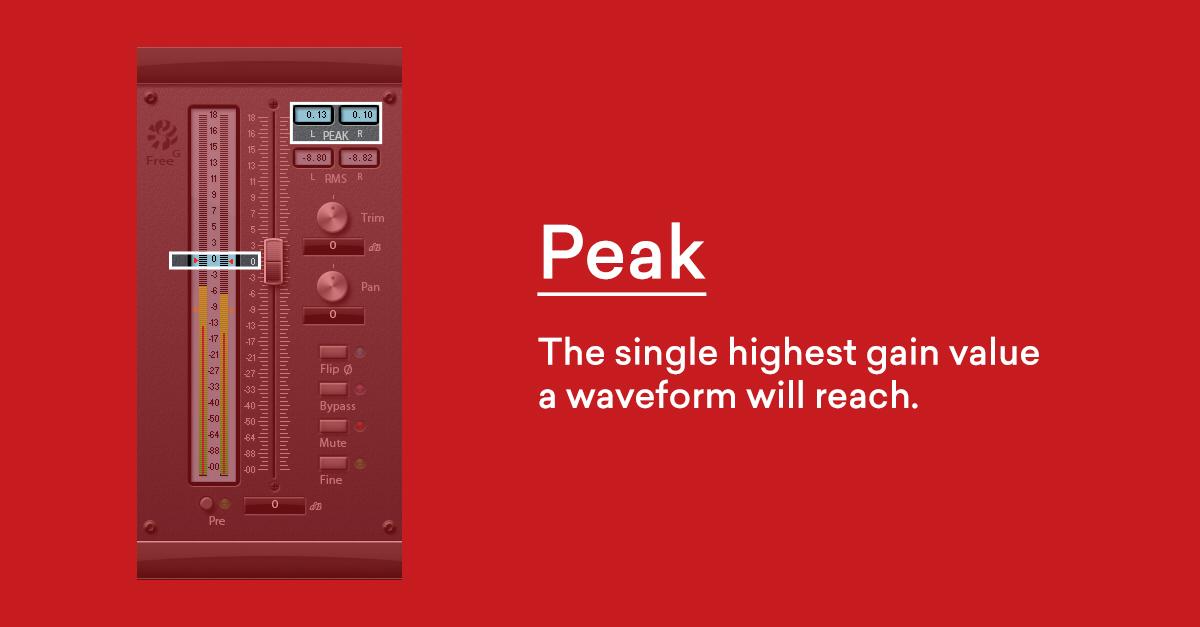
When we talk about loudness we mean the average energy of a track, which tends to be a fair bit below the level of the transient peaks on an uncompressed mix.
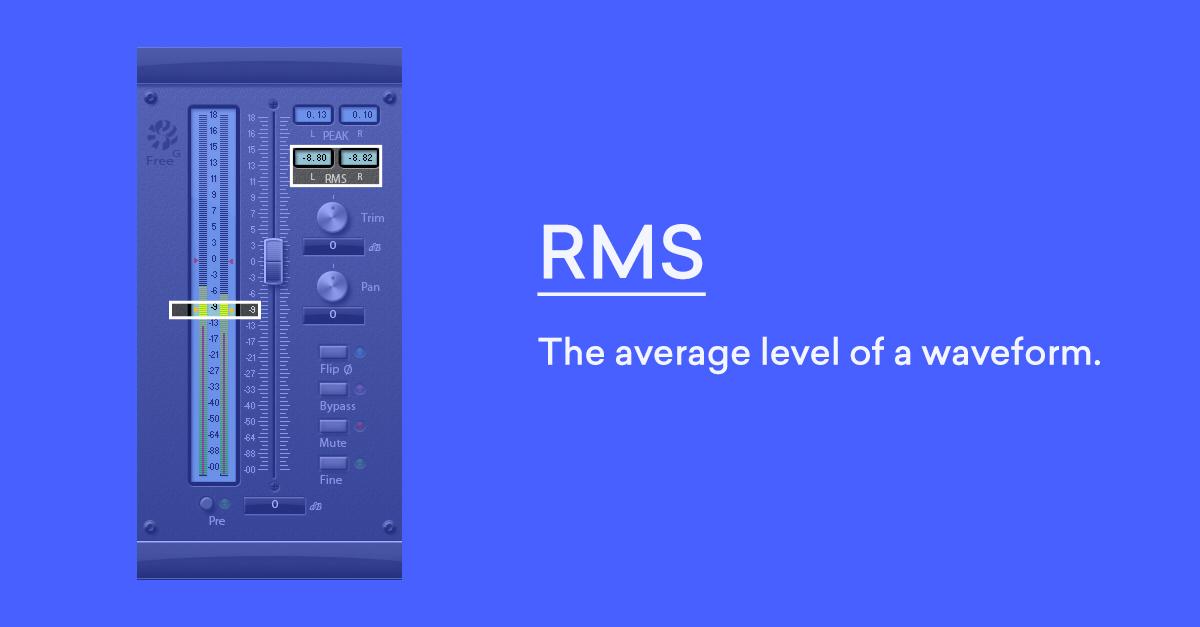
But when you start to reduce the level of those peaks relative to the average level, usually using a processor like a brickwall limiter, it means you’re able to raise the average level, and therefore the perceived loudness of the track. Within reason this is a fairly transparent process.
However, if you want to start chasing higher and higher loudness you need to limit the peaks more and more, which can create a whole whack of collateral damage (lost transient impact, pumping, distortion, fatiguing lack of dynamics, etc.).
What streaming services like Spotify, Apple Music, and YouTube have done is set standards for what level the average signal can be, and they use fairly conservative levels, so there’s nothing to be gained from over-limiting your track.
So the LANDR intensities essentially correspond to how loud, and therefore how limited, you want your track to be. There’s some other stuff going on under the hood, but that’s the basic function of the intensities.
As far as being optimized for streaming services, the Low Intensity is good for that. The various services haven’t yet agreed on a standard level so they’re all a bit different, which I admit can be confusing, but as long as your track is mastered to a level that roughly falls in the range of the targets used by the streaming services you’ll be good.
Ask away!
Struggling with your mix? Get help! Send your questions by email (at askanengineer@landr.com) for a chance to have them answered in the next edition of #AskAnEngineer!
The post Ask an Audio Engineer: The Mix Tip Mailbag appeared first on LANDR Blog.